Use & Care Guide for Misen Cookware
Premium tools require proper care to last a lifetime. Learn how to maintain your Misen cookware and knives for generations of exceptional cooking. Updated January 2026.
Your Investment in Quality
At Misen, we engineer professional-grade cookware designed to perform flawlessly for decades. However, even the finest tools benefit from proper care and maintenance. Following these guidelines will ensure your Misen cookware maintains its exceptional performance, appearance, and longevity.
Whether you own our 5-ply stainless steel cookware, carbon steel pans, or precision-forged knives, this comprehensive care guide provides everything you need to know about cleaning, maintenance, and troubleshooting common issues. With minimal effort, your Misen tools will remain kitchen workhorses that deliver professional results meal after meal.
Stainless Steel Care
Your everyday workhorse deserves proper maintenance

Why Stainless Steel?
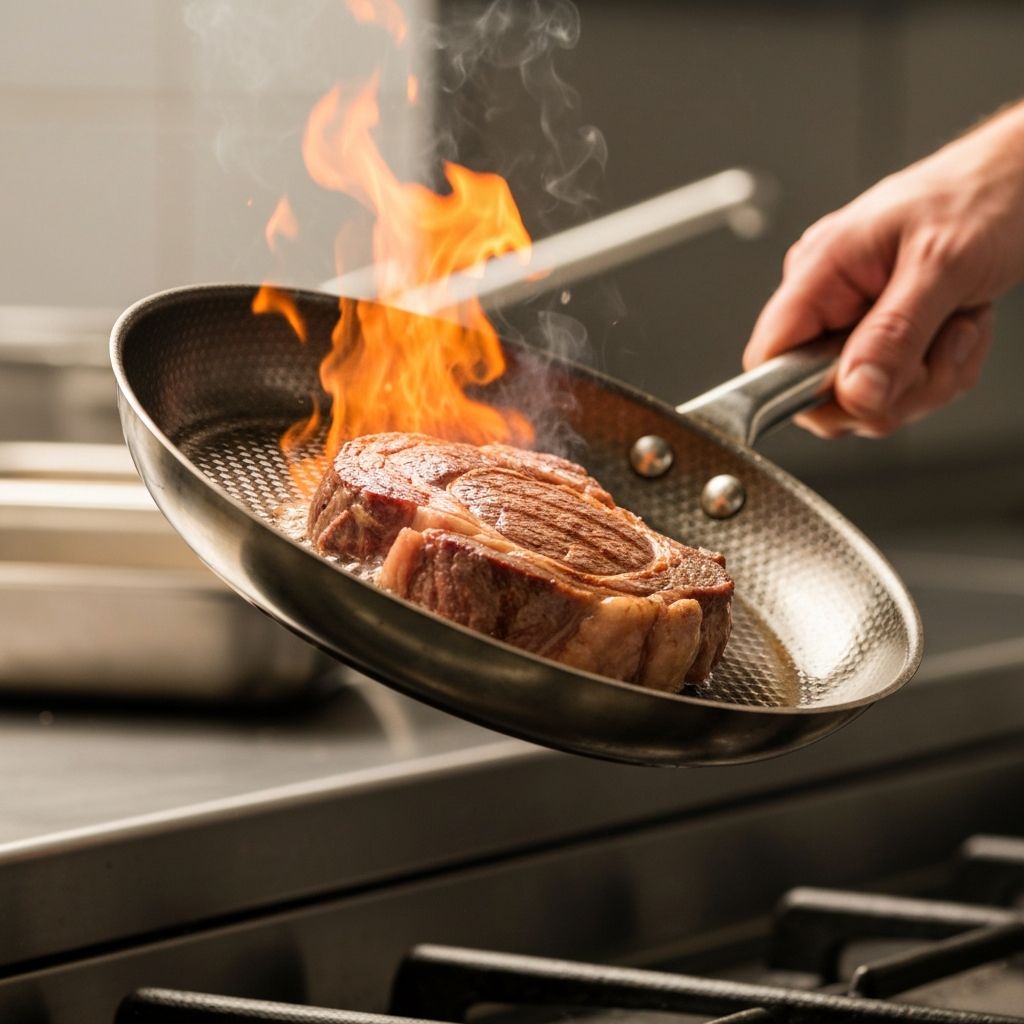
Misen's 5-ply stainless steel construction combines durability with superior heat distribution. The non-reactive surface won't alter the taste of acidic foods, and it can handle everything from high-heat searing to delicate sauces. With proper care, these pans will outlast any other cookware in your kitchen.
Daily Cleaning
Hand washing vs. dishwasher
While Misen stainless steel cookware is technically dishwasher-safe, hand washing is strongly recommended for several important reasons. Dishwasher detergents are extremely harsh and can cause micro-scratching over time, dulling the mirror finish you love. Additionally, the high heat and water pressure can loosen rivets and handles more quickly than hand washing.
Proper Hand Washing Technique:
- 1.Allow the pan to cool slightly (not completely) before washing. Extreme temperature changes can cause warping.
- 2.Use warm water with a drop of dish soap and a soft sponge or cloth.
- 3.For stubborn residue, create a paste with baking soda and water, gently scrub in circular motions.
- 4.Rinse thoroughly and dry immediately with a clean towel to prevent water spots.
Never use steel wool or abrasive cleaners on the cooking surface, as they can scratch and damage the stainless steel finish.
The "Rainbow" Stain
Heat tint is normal
Have you noticed iridescent, rainbow-like discoloration on your stainless steel pan? Don't worry—this is completely normal and called "heat tint" or "rainbow staining." It occurs when the chromium in stainless steel oxidizes at high temperatures. This cosmetic issue doesn't affect cooking performance or safety in any way, and many professional chefs consider it a badge of honor showing their pans are well-used.
How to Remove Heat Tint:
Method 1: White Vinegar
- • Dilute white vinegar with water (1:3 ratio)
- • Wipe the affected area with a soft cloth
- • Rinse thoroughly and dry immediately
Method 2: Bar Keepers Friend
- • Make a paste with Bar Keepers Friend and water
- • Gently rub in the direction of the steel grain
- • Let sit for 1 minute, then rinse and dry
To prevent heat tint, avoid overheating empty pans and use medium heat for most cooking tasks.
Burnt Food Rescue
The baking soda solution
Even the best cooks occasionally burn food onto their pans. When this happens with your Misen stainless steel cookware, don't panic—and definitely don't resort to harsh chemicals or aggressive scrubbing. The boil and baking soda method is a gentle yet highly effective technique that lifts burned residue without damaging your pan's surface.
Step-by-Step Burnt Food Removal:
- 1.Fill the pan with enough water to cover the burnt area, plus an inch or two extra.
- 2.Add 2-3 tablespoons of baking soda to the water.
- 3.Bring to a boil and let it simmer for 10-15 minutes. You'll see the burnt bits start to lift.
- 4.Turn off heat and let cool for 5-10 minutes.
- 5.Discard the water and use a wooden spoon or silicone spatula to gently scrape away loosened residue.
- 6.Wash normally with dish soap and a soft sponge.
Pro Chef Tip
For extremely stubborn burnt-on food, repeat the process or let the baking soda solution sit overnight before scrubbing. The alkaline properties of baking soda break down carbonized food particles naturally.
Carbon Steel Maintenance
The high-heat master requires special attention
Understanding Carbon Steel
Carbon steel pans are prized by professional chefs for their exceptional heat retention and natural non-stick properties when properly seasoned. Unlike stainless steel, carbon steel develops a protective patina over time that enhances its performance. This living surface requires different care techniques to maintain its remarkable cooking properties.
The Golden Rule
Protect the seasoning
Never use soap. Never use the dishwasher.
These two rules are non-negotiable for carbon steel care.
Soap and dishwasher detergents strip away the seasoning—the polymerized oil layer that gives carbon steel its non-stick properties and rust protection. Every time you use soap, you're essentially starting over with seasoning. Instead, embrace the traditional method used by professional kitchens worldwide.
Proper Carbon Steel Cleaning:
- 1.While the pan is still warm (not hot), rinse with hot water only.
- 2.Use a stiff brush, chain mail scrubber, or coarse salt as an abrasive to remove food particles.
- 3.Dry thoroughly with a towel immediately.
- 4.Place on low heat for 1-2 minutes to evaporate any remaining moisture.
- 5.While still warm, rub a thin layer of neutral oil (vegetable, canola, or grapeseed) over the entire surface with a paper towel.
Re-seasoning Your Pan
Refresh the coating
Over time, even with proper care, your carbon steel pan's seasoning may become dull, patchy, or develop sticky spots. This is completely normal and easily fixed with a quick re-seasoning process. Think of it as routine maintenance that keeps your pan performing at its peak.
Quick Re-seasoning Instructions:
- 1.Scrub the pan thoroughly with hot water to remove any old oil residue.
- 2.Dry completely and heat the pan over medium-high heat until it just begins to smoke.
- 3.Add 1 tablespoon of high smoke-point oil (flaxseed, grapeseed, or vegetable oil).
- 4.Use a paper towel held with tongs to spread the oil evenly across the entire cooking surface, including sides.
- 5.Continue heating until the oil stops smoking (about 2-3 minutes). The pan should look darker and have a slight sheen.
- 6.Let cool and wipe away any excess oil with a clean paper towel.
For a deeper seasoning, repeat this process 3-5 times. Each layer builds a stronger, more durable non-stick surface.
Rust Removal
Don't panic, it's fixable
Found rust spots on your carbon steel pan? This happens when moisture sits on the surface without the protection of adequate seasoning. The good news: rust on carbon steel is purely surface-level and completely reversible. With a little elbow grease, your pan will be back to perfect condition.
Complete Rust Removal Method:
- 1.Scrub the rusted areas with fine steel wool (#0000 grade) or a scouring pad. Apply firm pressure in circular motions.
- 2.For stubborn rust, make a paste with coarse salt and neutral oil. Scrub vigorously with the paste using a paper towel or cloth.
- 3.Rinse thoroughly with hot water and inspect for remaining rust.
- 4.Dry completely and immediately heat the pan to evaporate all moisture.
- 5.Re-season the pan following the complete seasoning process (repeat 3-5 times for best results).
Prevention is Key
Always dry your carbon steel pan immediately after washing and apply a thin layer of oil after each use. Store in a dry place. If storing for extended periods, apply a slightly thicker coat of oil.
Knife Care & Maintenance
Precision tools deserve precision care
Professional-Grade Edges
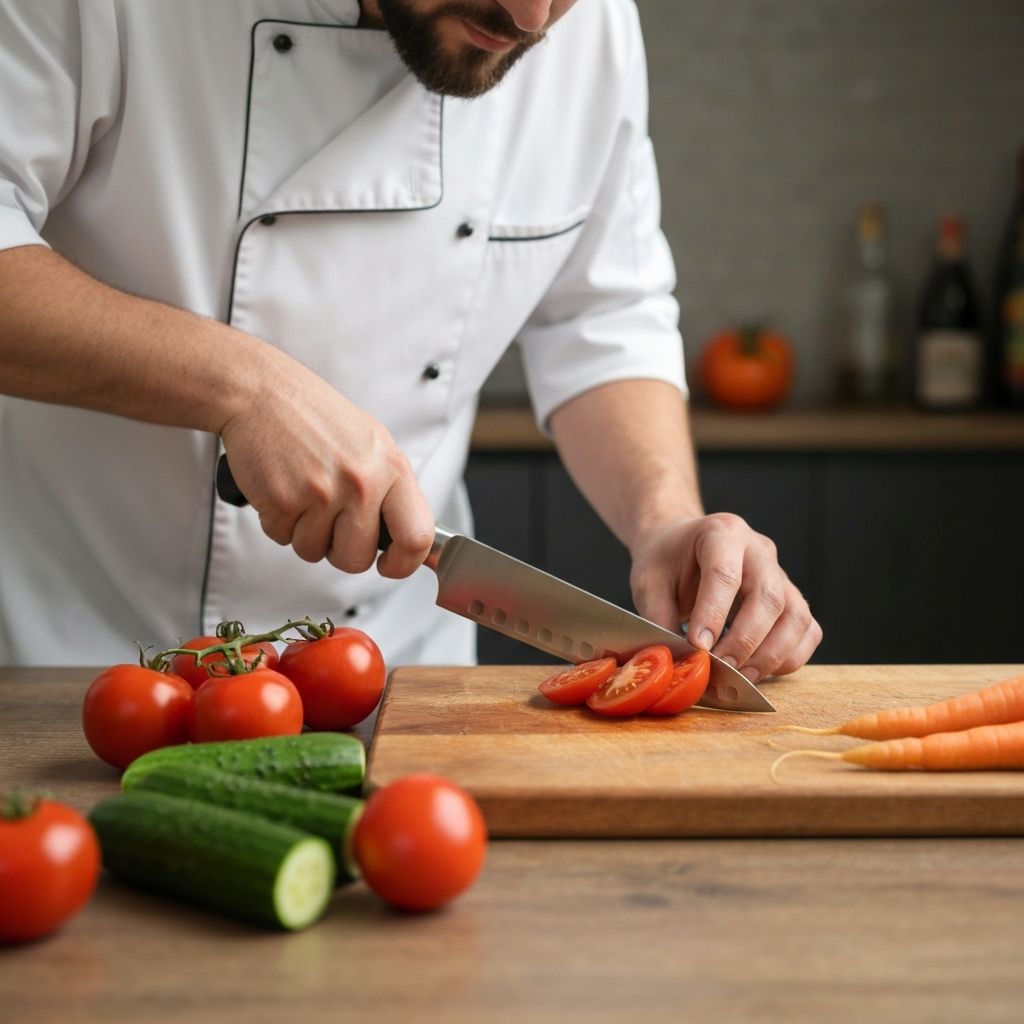
Misen knives are precision-forged from Japanese AUS-10 high-carbon steel and hand-sharpened to a 15-degree angle. This exceptional edge requires proper maintenance to preserve its razor-sharp performance. Understanding the difference between honing and sharpening is crucial for every knife owner.
Honing vs. Sharpening
Understanding the difference
Many home cooks confuse honing with sharpening, but they serve very different purposes. Honing realigns the microscopic edge of the blade without removing metal, while sharpening actually grinds away steel to create a new edge. Both are essential, but they're used at different frequencies.
Honing
What it does: Straightens the blade edge without removing material
Frequency: Every 2-4 uses, or weekly for frequent cooks
Tool: Honing steel or ceramic rod
Time: 30 seconds
Sharpening
What it does: Grinds away steel to create a new cutting edge
Frequency: Once or twice per year for home cooks
Tool: Whetstone or professional service
Time: 10-20 minutes
How to Hone Your Misen Knife:
- 1.Hold the honing steel vertically with the tip resting on a cutting board or towel for stability.
- 2.Place the heel of the knife against the top of the steel at a 15-20 degree angle.
- 3.Draw the knife down and across the steel in a sweeping motion, pulling from heel to tip while maintaining the angle.
- 4.Repeat on the other side of the blade.
- 5.Alternate sides for 5-10 passes per side (light pressure is sufficient).
If honing no longer restores sharpness, it's time for professional sharpening or to use a whetstone. Over-honing a dull blade can actually damage the edge.
Proper Knife Storage
Protect your investment
How you store your knives dramatically impacts their longevity and safety. Tossing knives into a drawer is one of the worst things you can do—it dulls the blade, damages the edge, poses a safety hazard, and can even chip or break the tip. Professional chefs never store knives in drawers, and neither should you.
Recommended Storage Solutions:
Magnetic Knife Strip (Best Option)
Wall-mounted magnetic strips keep knives safely separated, visible, and easily accessible. The blade never touches other surfaces, preserving the edge perfectly. Plus, it saves valuable counter and drawer space.
Knife Block
Traditional knife blocks protect blades but take up counter space. Choose blocks with horizontal slots rather than vertical to prevent the blade edge from resting on wood, which can dull it over time.
In-Drawer Knife Organizer
If drawer storage is necessary, use a dedicated in-drawer knife tray with individual slots that keep each knife separated and secure. This prevents blade-to-blade contact while keeping them out of sight.
Blade Guards
For travel or temporary storage, plastic or felt blade guards protect both the knife edge and your hands. These are especially useful for storing knives in tool drawers during renovations or when transporting knives to outdoor cooking events.
Never Do This:
- • Throw knives loosely into a drawer with other utensils
- • Leave knives sitting in the sink (especially under water)
- • Put knives in the dishwasher (heat and detergent damage handles and dull blades)
- • Store knives blade-down in containers
Additional Knife Care Guidelines
Cleaning
Always hand wash immediately after use with mild soap and warm water. Dry completely before storing to prevent rust or corrosion.
Cutting Surface
Use only wood or plastic cutting boards. Glass, marble, ceramic, and metal surfaces will quickly dull your blade.
Proper Technique
Use a rocking motion with the tip on the board, rather than chopping straight down. This preserves the edge and gives you better control.
What Not to Cut
Avoid cutting through bones, frozen foods, or extremely hard items. These can chip or damage the blade edge.
Ready to Experience Misen Quality?
Now that you understand how to care for professional-grade cookware, discover why thousands of home chefs trust Misen for their kitchen essentials.